Two sisters cooking and creating...and neglecting laundry. Welcome to our slice of the internet!
Showing posts with label flowers. Show all posts

Friday, April 6, 2012

Flower Crowns for Easter

Flowers worn in the hair is so lovely and perfectly feminine. When I was little, I'd daydream of getting to wear a crown of flowers in my hair for a special occasion. Now that I'm older, I don't think I could pull off the flower crown, but by golly I've got two little girls who can! I thought it would be sweet to make them some flower crowns to wear with their Easter dresses.  I wasn't going for fussy or grand here, just sweet, simple and pretty. I think we accomplished that and the look on the girls' faces when I presented them with their crowns?! Gasps and excitement aplenty. 
I envisioned this post to have pictures of Lily and Hadden, holding hands and being all sisterly and photogenic. Ya know, real high hopes! But, it was not to be, Hadden wanted to stay in her pj's and insisted that the enchilada sauce remain smeared on her adorable cheeks. ;)
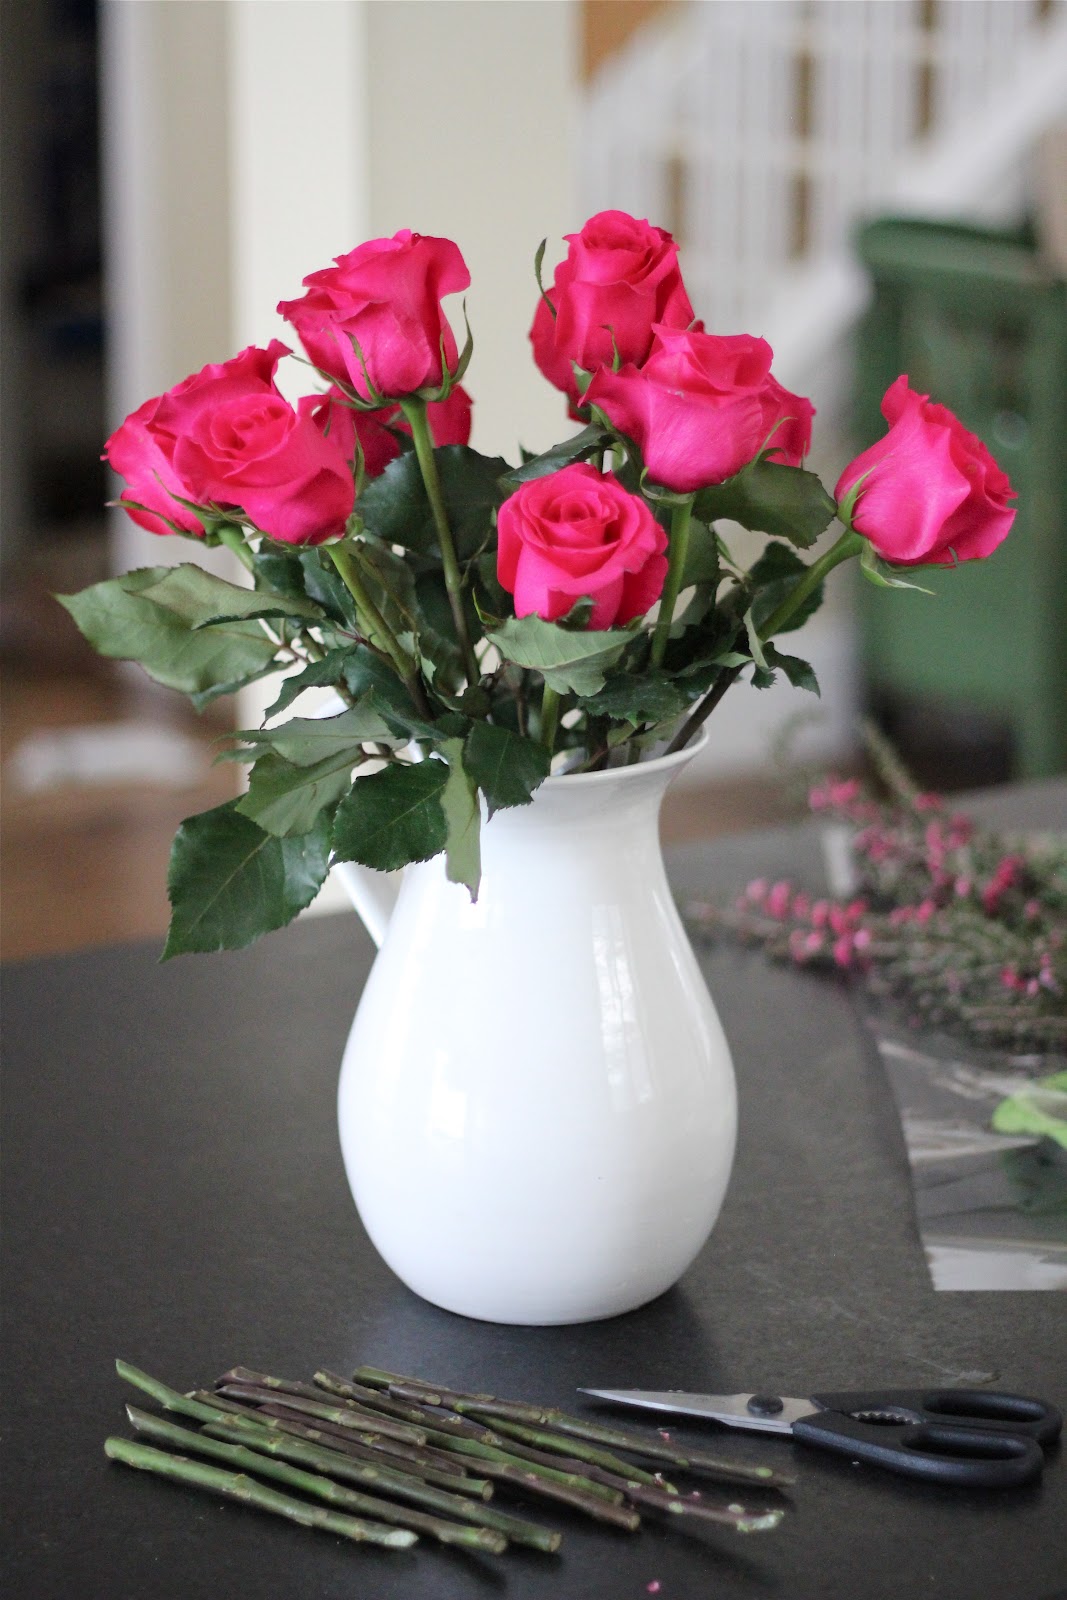
Notes on the crowns: It took me twenty minutes to make two crowns. I would recommend making these the night before or the day of wear. For the purpose of this post, I made crowns for the girls today. I will make fresh ones for Easter Sunday. Here is how I made them, if you'd like to take a look:

Materials needed:
-floral tape
-flowers *Use any variety you prefer, Lily's crown is made up of small daisy like white flowers. These can be found at any flower shop, even at grocery stores. 
-string
-scissors 
Take string and measure it around the head of the person you are making the crown for (measure the string the way it is intended to be worn). Tie a knot.
Clip flowers and place around the string. This will give you an idea of how many flowers you'll need, what directions look best.
Take floral tape and wrap (with good tension) bundles of flowers around the string until you've made up your flower crown. See above. Try your best to wrap the tape so it's concealed behind flowers. Store flower crown in fridge before use.
Thanks for letting me share this today and for popping in! 
I hope you all have a wonderful weekend ahead of you. I am looking forward to spending time with family and celebrating the resurrection of our Savior, Jesus Christ.

images and project by Briana

Friday, February 10, 2012

How To: Arranging Your Valentines Day Roses

When Randy and I were first married I worked at a flower shop in Salt Lake, Artichokes and Co. (now Olive and Cocoa). I also had the opportunity after that to work with Brenda of Pocket Full of Posies on some weddings. These jobs were pure fun! I look back on that time in my life with a smile. Working with flowers is just plain dreamy. 
As I was thinking about Valentines Day and what posts to share that would be relevant, a light bulb went off to do a How-To on arranging your rose bouquets come Tuesday. Raise your hand if your significant other has brought you a beautifully wrapped bouquet of flowers and then when you go to put them in a vase the flowers flop to one side and just look plain lame. High fives all around! Ok, let me show you how to fix that:
1. Go shopping in your kitchen for a vessel to arrange your flowers in (make sure the opening on your vessel isn't too wide or you'll have a hard time arranging the roses). I chose a pitcher! Fill your vase (in my case, pitcher) 2/3 with luke warm water. Dissolve the "food" packet into the water that came with your flowers. This will increase the life of your roses. Unwrap your flowers and strip away any leaves that will be submerged or touch the water. This is especially important if you are using a clear glass container. The florist has most likely already done this for you, but you may need to do a little stripping yourself.
2. Scoot your vase to the edge of your work surface. Hold a rose up to the vase with the stem hanging down (I taped the rose to the pitcher here because I couldn't get the right shot by holding it). Raise and lower the flower to determine the height you want your arrangement to be. I drew on the picture to help illustrate this better. I usually leave about a third of the flower above the rim. Once you have determined the height you want, cut (the sharper the scissors the better) the excess stem off at the base of your vase at an angle. It's very important that you cut the stem at an angle to create more surface area for water to be drawn in.
3. Proceed to cut all roses the same height (ish) as the first. As you cut, place each flower in your vase at an angle, criss-crossing the stems. This creates stability to build the roses up how you want them. As you go make sure to turn your vase to view all angles of your arrangement. If you feel a stem is too long, simply trim a little off and reposition or swap it out. This is normal and you will need to do this to get the right shape.
4. On your last few roses position them down in the center of your arrangement. The criss-crossed stems will keep them stable and upright.
5. When you are satisfied with the shape of your arrangement, take the greenery and fill it around the base of the roses (refer to above picture). Trim it as needed to get the right height. Strip the greenery of any leaves that will be submerged in the water. The greenery is fun to do because it hides errors and gives your arrangement polish.
6. Take any other filler that was included with your bouquet and position it in and around the roses. Trim it accordingly and making sure to strip it of any leaves or things that will be touching or submerged in the water. If you don't, it'll make things scummy, therefore the water won't be as fresh, therefore your roses won't last as long. Sorry if you heard me the first time I said that.
7. Lastly, trim away any leaves or greenery that looks limp and pull any rose petals that are flopping or torn. And voila!
This took me 15 minutes to do and I know I have flower experience but I promise you can do this! I actually really wanted to do a video to show how to do this, but that wasn't possible today. Hopefully I've explained everything clearly, but leave a comment if you have a question and I'll respond in the comments. I've also got other ideas for simple floral arranging and tricks to share with you, so look for those posts in the future. Hope you have a fab weekend! Thanks for stopping by today! xoxoxo

images and how-to by Briana
Pin It