

We made our own version of them at home using materials we already had. My initial thought was to cut the letters out of a diaper box, but that got thrown away and then I remembered I had a piece of foam core that was banged up and no longer pristine to photograph food on, so I used that. This is a fun project and there are so many different ways to wrap your letters and be creative. Here are some pictures and details on this project, if you'd like to take a look:
Materials needed:
-kraft knife or scissors (depending on the type of material you use)
-foam core or cardboard
-yarn (colors of your choice)
-tape
-template {{HERE}} is the template I used and printed off. I cut the letters about 1/4 inch larger on all sides because I wanted a bigger letter. There are plenty of templates on the web to choose from- different fonts and sizes, etc. My google search was 'alphabet letters template'.
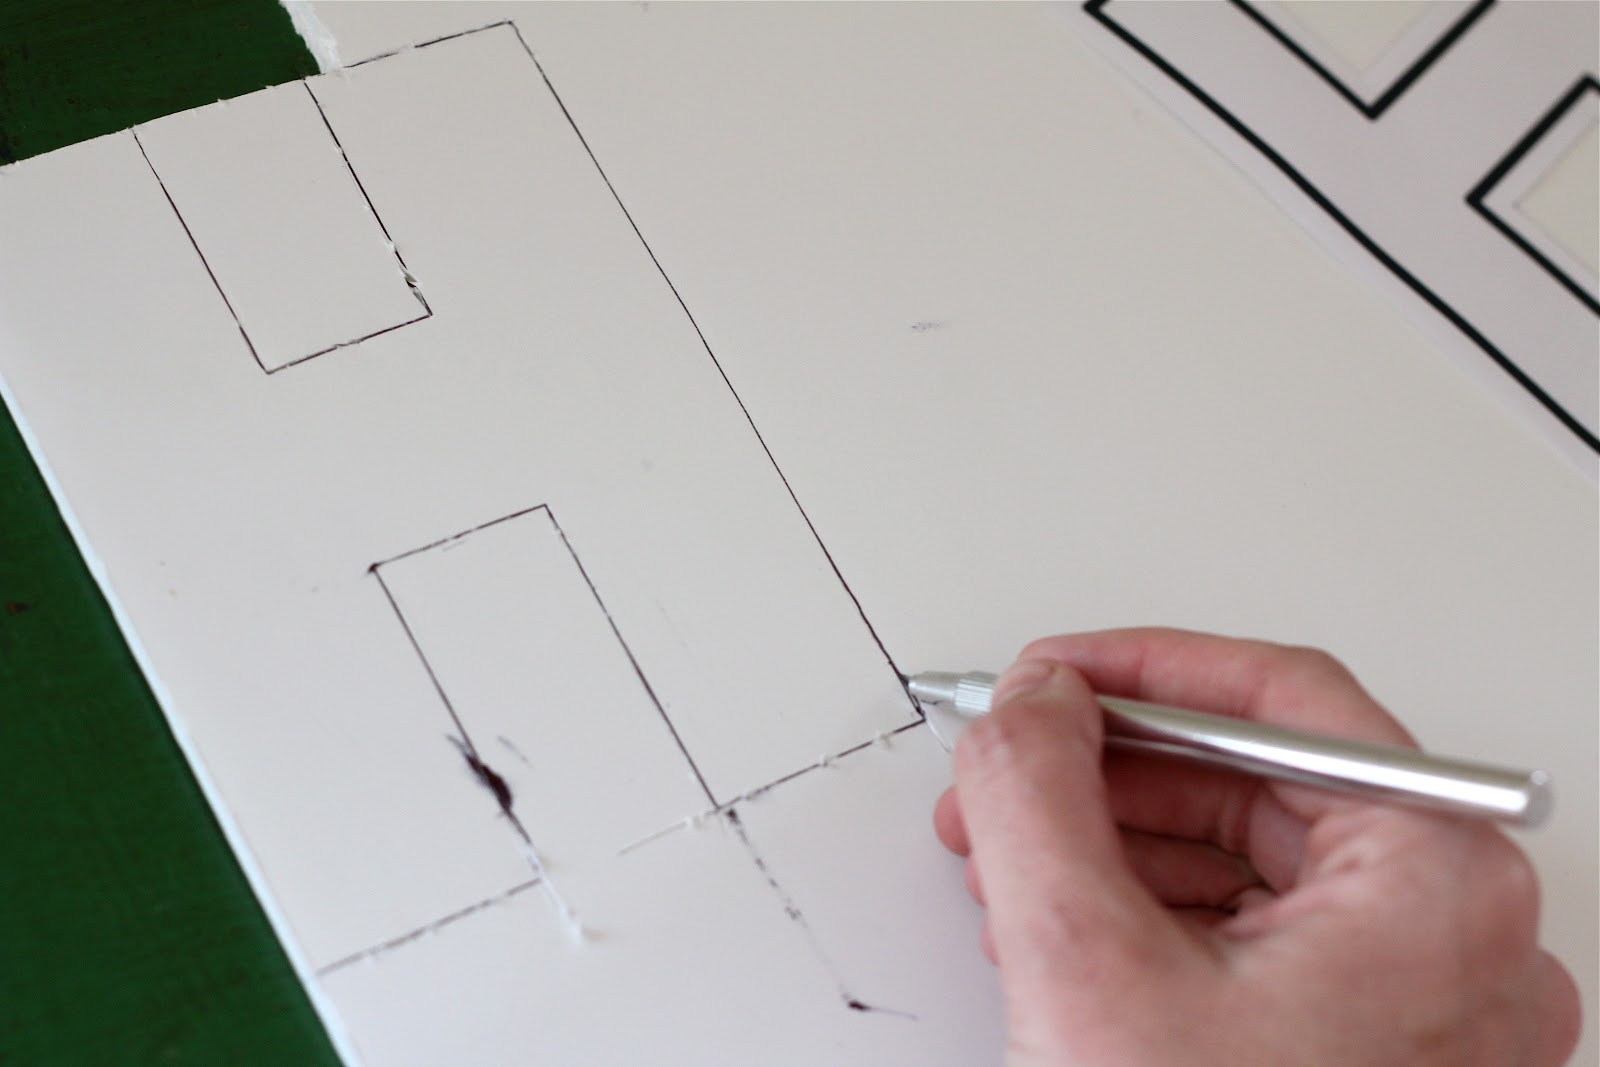
Trace and cut out your letters. Don't be worried if your cuts aren't perfect.

Wrap your letters, making sure to wrap thoroughly for good coverage. Secure each sections of yarn on the backside with tape. Before you wrap, think about how to wrap your letter since every letter of the alphabet is different and will require a different strategy.

For Lily's L (above), I wrapped it more uniform and went for a ombre/watercolor graduated vibe. Hadden's H (below) is wrapped more willy-nilly. I adore how both turned out. Just have fun and do what feels good to you.

When you've finished wrapping and securing your yarn, hang your letter. Use plasti-tac or something that won't damage paint underneath (I used removable glue dots from my stash). I hung the letters on the girls' doors, but you could hang these anywhere, really!

If you decide to make some letters of your own, I'd love to hear how it goes! Have a lovely weekend! See you next week!
images and project by Briana


5 comments:
Soooooo cute Breezy!! I totally want to do this for my girls . . . you are so creative! What a perfect afternoon activity! Love you!
Kjitsten- Thank you so much. I really appreciate all your comments! Sure love you!
How fun! So creative!
These turned out so cool! You have such an artistic eye - I love it! I have a little stash of yarn-wrapped letters for my seasonal shelf - stuff like JOY, BOO, XOXO. They're so fun to make, although some of the letters are trickier than others. :) I really love how your H turned out, and I love the texture of your L. Fun!
Beautiful bri! These turned out super cute!
Post a Comment